The Ultimate 2024 Ski Bike Buyer’s Guide
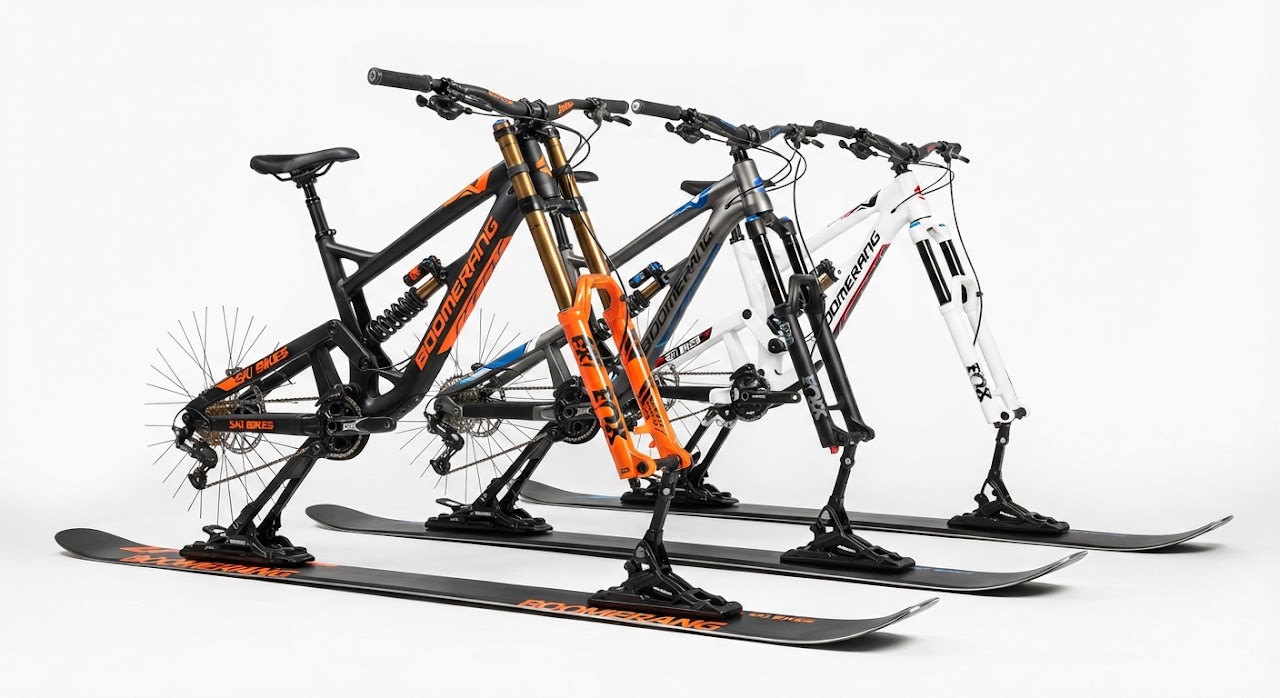
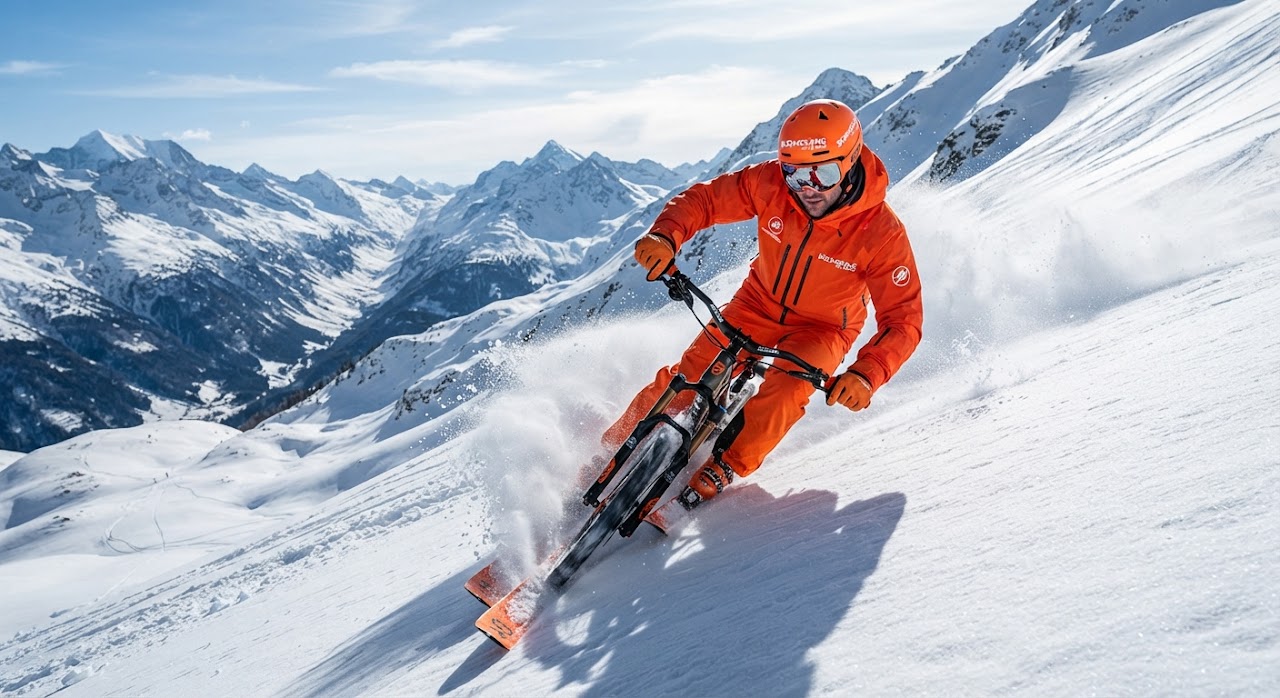
Buying your first ski bike — or upgrading from an entry-level rig you’ve outgrown — means wading through travel numbers, geometry charts, and ski widths that don’t mean much until you’ve actually ridden a few setups. This guide breaks down exactly what to look at, in what order, so you spend your money on the things that change how a bike rides and skip the marketing noise that doesn’t.
Start With Suspension Travel, Not Brand Names
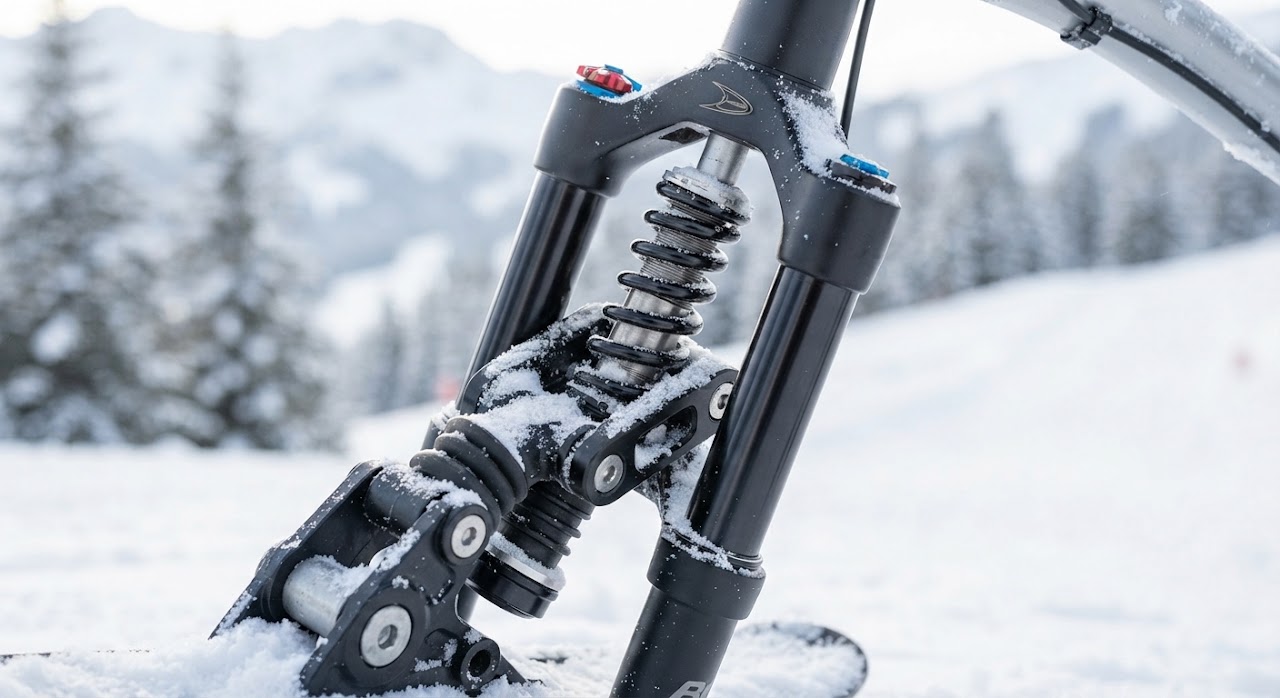
Travel is the single biggest predictor of what terrain a ski bike is happy on. Think of it the same way you’d think of a mountain bike: short travel rewards precision and speed on groomers, long travel forgives mistakes in chop and trees.
Matching travel to terrain
- 80–100mm front / 70–90mm rear: groomer-focused rigs. Quick steering and direct edge feedback, best for carving and mellow resort laps.
- 100–130mm front / 100–120mm rear: the all-mountain sweet spot. Handles bumps and cut-up snow without punishing you on the way down.
- 140mm+ both ends: built for park, drops, and rough backcountry lines. Heavier and less snappy at low speed, but it soaks up landings a shorter-travel bike will kick back on.
A mid-travel fork paired with a shock in the same range keeps geometry balanced front to rear — mismatched travel is a common reason a bike feels vague in fast turns.
Frame Geometry: The Numbers That Actually Matter
Two bikes can list identical travel and ride completely differently because of geometry. Focus on three numbers:
- Head angle: slacker angles (around 63–66 degrees) stabilize the front ski at speed and in rough snow; steeper angles (67–69 degrees) quicken the steering for tight groomer turns.
- Wheelbase: longer wheelbases track straighter and feel planted at speed but resist quick direction changes in bumps or trees.
- Bottom bracket height (or seat-to-ski height): lower centers of gravity carve more confidently; taller setups clear deeper snow and moguls without bottoming out the frame.
If you’re between sizes or geometry philosophies, lean toward the setup that matches the terrain you’ll ride 80% of the time, not the terrain you ride on your best powder day of the season.
Ski Width and Length: Float vs. Edge Grip
Front ski choice is a direct trade-off between flotation and hardpack precision.
Width
Narrower skis (under 100mm underfoot) bite harder into groomed and icy snow and steer with less effort. Wider skis (100mm+) float better in soft snow but feel sluggish and vague when you need to lay a sharp edge on hardpack.
Length
Shorter skis turn quicker and suit tighter, more technical terrain. Longer skis hold a line at speed and provide more stability on open runs, but they’re less forgiving in tight trees or bump lines.
Most riders do best starting with a mid-width, mid-length ski and adjusting toward extremes only after they know what terrain dominates their riding.
Binding Setups: Get This Wrong and Nothing Else Matters
Your binding setup determines how directly your input transfers to the ski — the part beginners most often overlook.
- Step-in bindings: fastest to use, good for riders who value convenience and consistent release characteristics.
- Strap-in or bolt-on setups: more direct power transfer and often more adjustable stance width, favored by aggressive riders chasing precision over convenience.
- Stance width and canting: a stance that’s too narrow feels twitchy at speed; too wide kills quick edge-to-edge transitions. Small adjustments here have an outsized effect on how a bike carves.
Whatever style you choose, confirm compatibility with your ski width and boot interface before you buy — retrofitting a binding system afterward is expensive and sometimes impossible.
Matching Bike to Rider Level and Budget
Be honest about where you are, not where you want to be by March.
- Entry-level rigs: simpler coil suspension and fixed geometry — genuinely fine for learning edge control and basic carving. Don’t over-buy travel you can’t yet use.
- Mid-tier bikes: adjustable air suspension and tunable geometry — worth it once you’re linking consistent turns and riding blue and black terrain confidently.
- High-end builds: fully tunable travel and premium damping — pays off once you’re pushing speed, drops, or long descents where small performance gaps compound.
A well-tuned entry-level rig will always out-ride a premium bike that’s set up wrong for your weight and terrain.
Where to Demo Before You Buy
Never buy blind if you can help it. Resort demo centers, ski bike rental shops near major mountains, and manufacturer demo days let you compare travel and geometry back-to-back on the same run — the only real way to feel what a spec sheet describes. Ride at least two travel ranges and two ski widths before committing, and pay attention to how each bike behaves on the terrain you ride most.
Get the travel, geometry, ski width, and binding right for how and where you ride, and the bike disappears beneath you — which is the point.