How to Build Mountain Bike Trail That Lasts
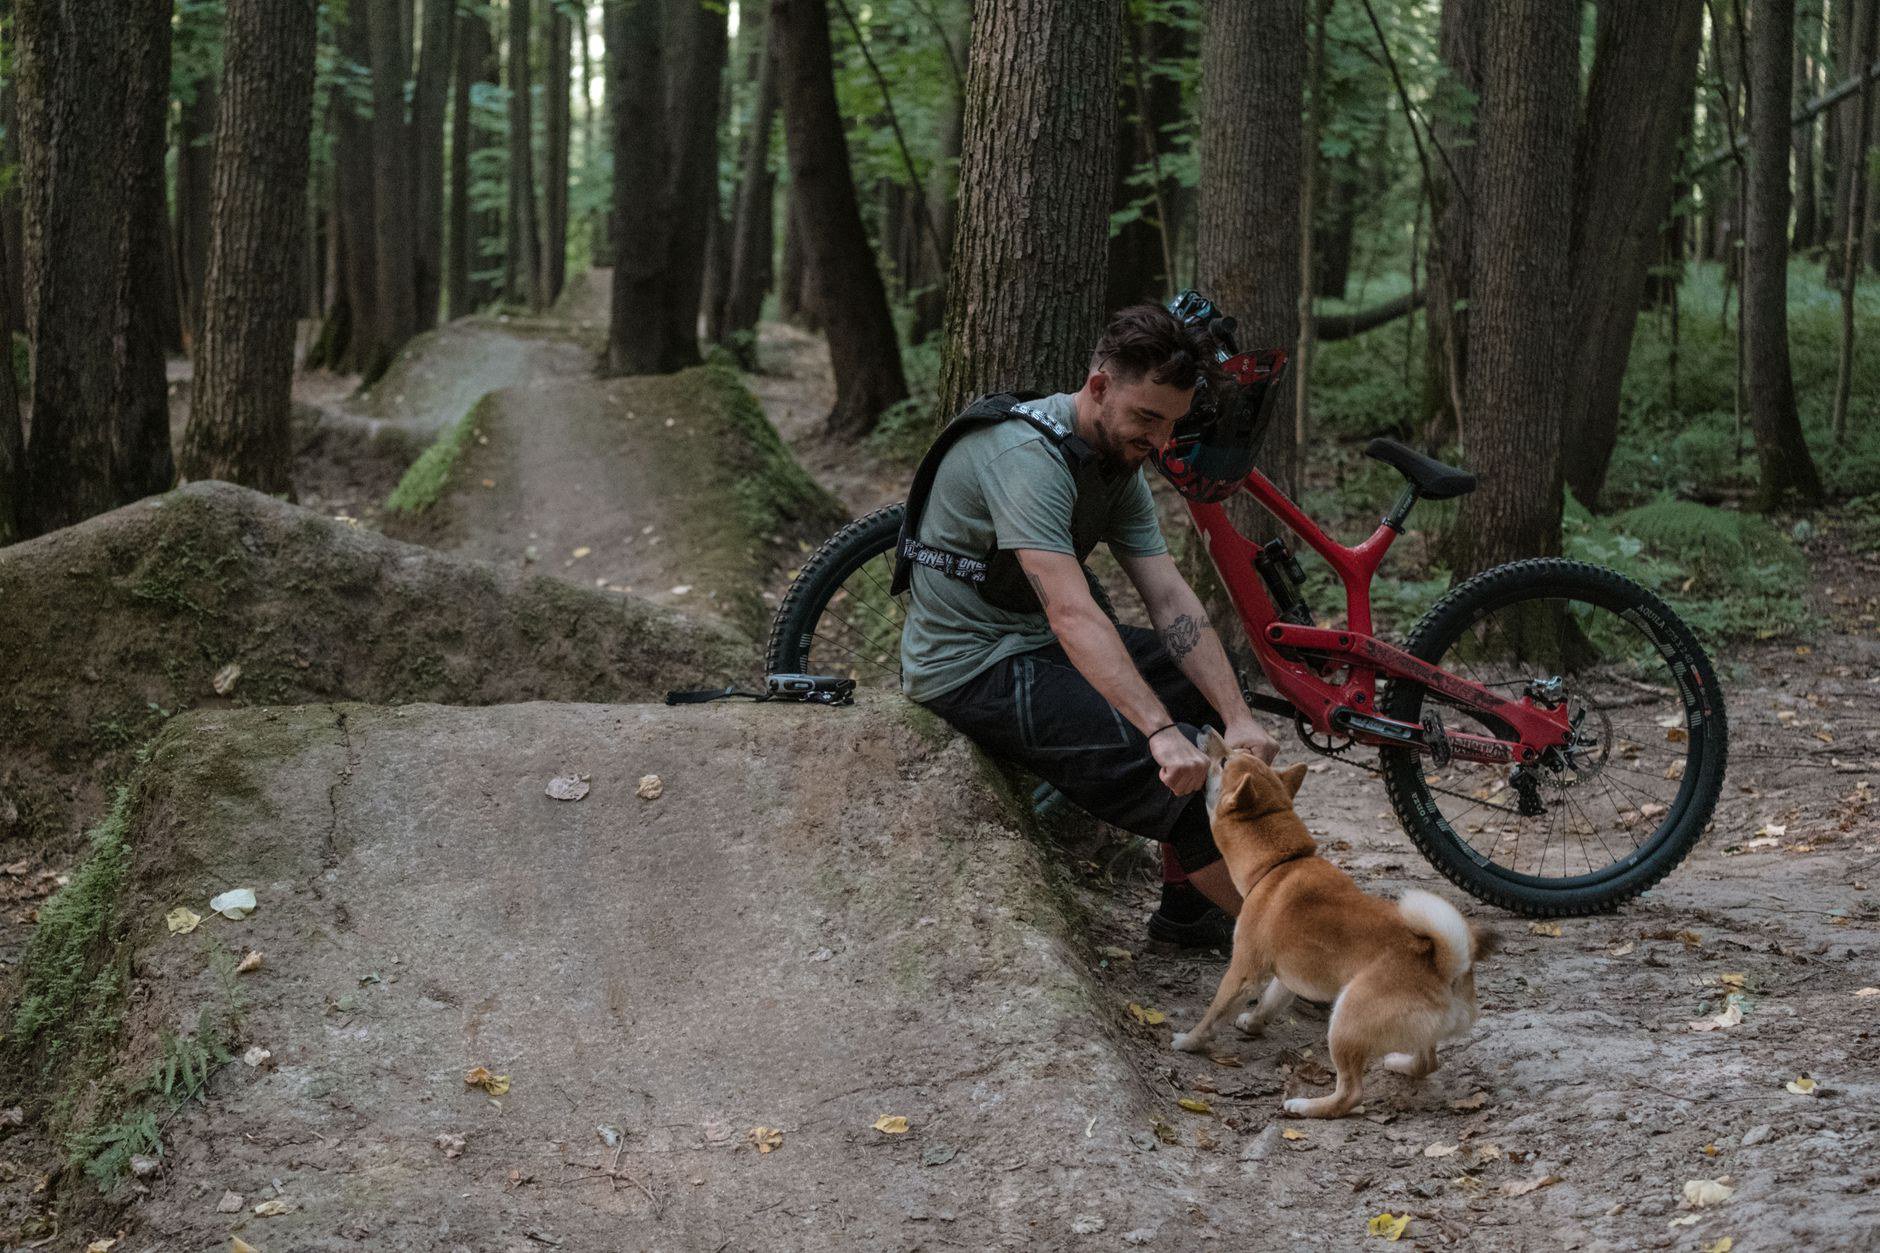
Learning how to build mountain bike trail starts with permission, water, and rider flow. Dirt work comes later. A beautiful line cut in the wrong place can damage habitat, create conflict, and disappear after one wet season. A durable trail fits the land, drains naturally, and gives riders clear information about what lies ahead.
I have helped repair enough failing corners to know that speed with a shovel is not efficiency. Walk the site repeatedly. Watch water after rain. Talk to the land manager and local riders. The best construction days happen after the difficult planning decisions have already been made.
How to Build Mountain Bike Trail Legally
Do not build on land without explicit authorization. Ownership, conservation restrictions, utility access, cultural resources, hunting seasons, and insurance can all affect a project. Permission should define where work may occur, who approves changes, and how maintenance will be handled.
Public projects often require a formal process. Private land still needs clear written agreement. Unauthorized trail building can close access for everyone and force volunteers to remove the work later.
Connect with experienced local builders before proposing a route. The community lessons in our guide to building a strong riding culture apply here: trust grows when riders communicate and respect shared land.
Define the Rider and Difficulty Before the Route
A beginner flow trail and an expert technical descent require different widths, sight lines, grades, features, and consequences. Decide who the trail serves. Then define the character in plain language.
Difficulty should come from intentional features, not surprise hazards. A rollable line can sit beside an advanced option, but riders need time to see and choose it. Blind drops, hidden drainage trenches, and abrupt exposure are design failures.
Consider the bikes likely to use the trail. Modern all-mountain geometry encourages speed and rewards supportive corners. Riders comparing year-round all-mountain bikes will expect a line that works for capable equipment without forcing every visitor into expert features.
Walk the Land in More Than One Condition
Scout after dry weather and after rain. Water reveals the truth. Look for seeps, seasonal channels, soft ground, unstable side slopes, exposed roots, and places where runoff gathers speed.
Flag a broad corridor rather than a finished centerline. Walk it in both directions. A route that feels natural downhill may create impossible climbing grades or poor sight lines when used the other way.
Protect sensitive areas. Avoid wetlands, unstable banks, rare vegetation, and wildlife zones identified by the land manager. Moving the corridor early costs minutes. Repairing damage later can take years.
Use Grade Reversals to Control Water
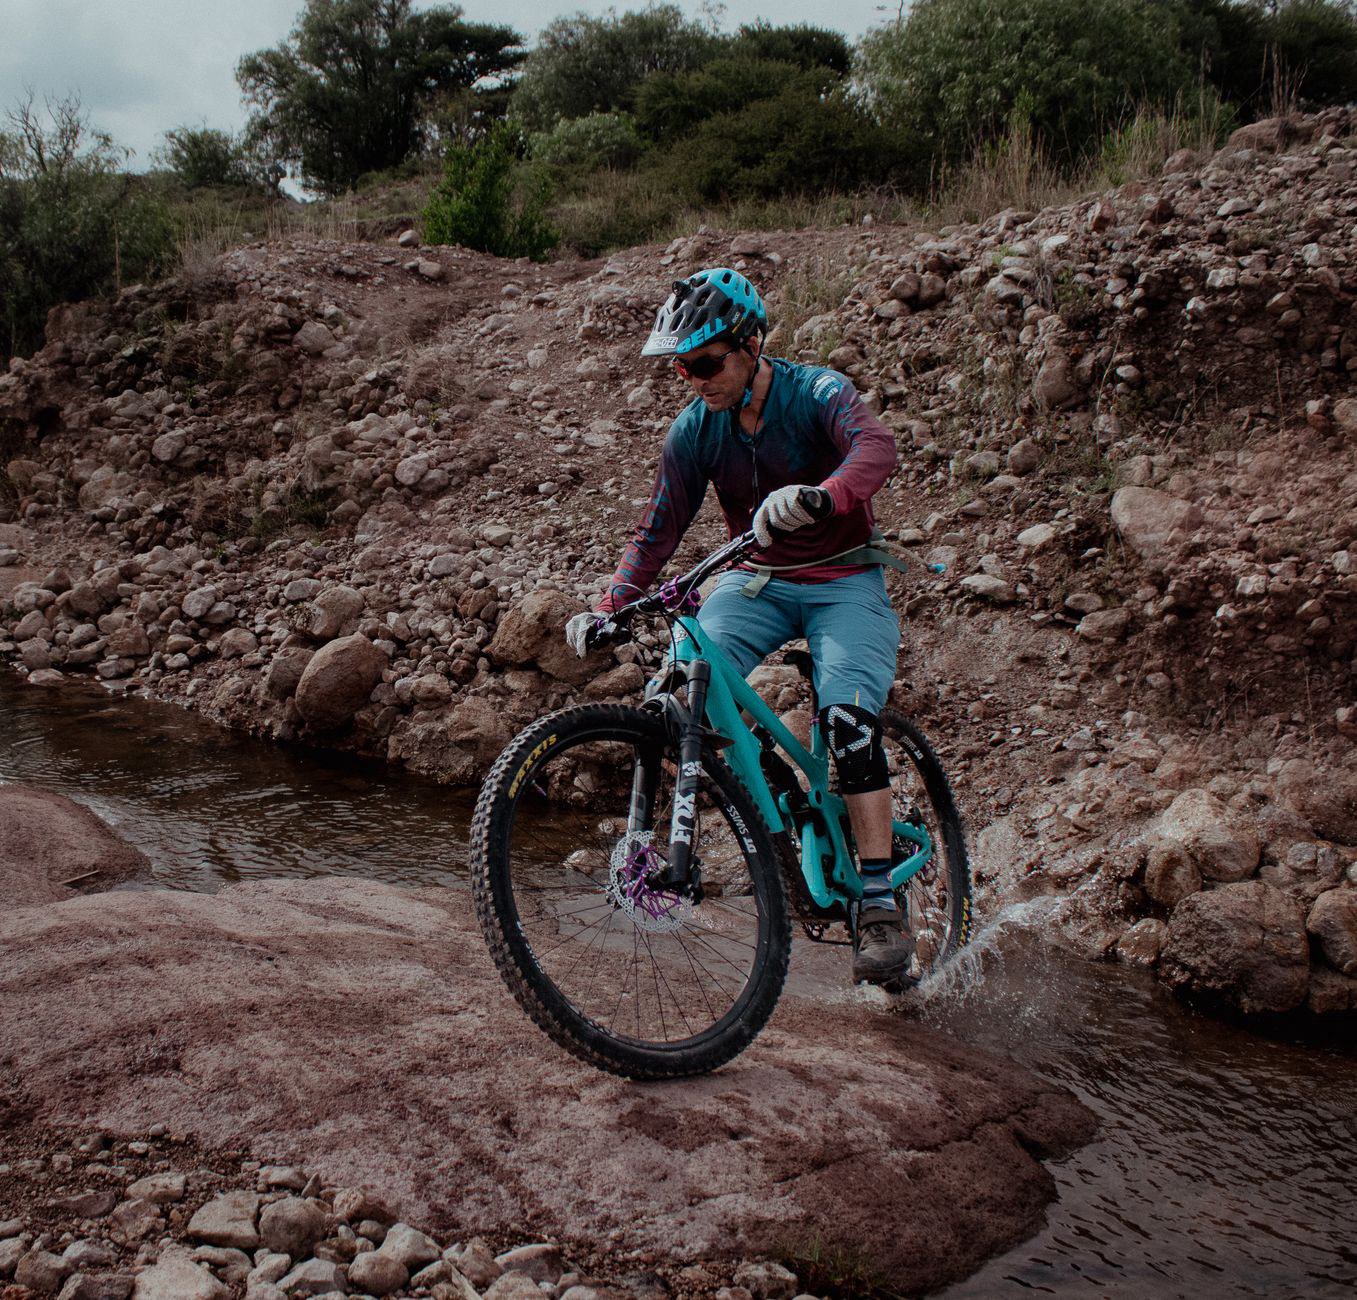
Water should cross the trail, not follow it. A grade reversal rises briefly before dropping again, encouraging runoff to leave the tread. These subtle changes usually ride better and require less maintenance than deep drainage cuts.
A trail that descends continuously down the fall line becomes a channel. Speeding water removes fine soil, exposes rocks, and creates ruts. Outslope and frequent reversals help spread water across the hillside.
There is no universal spacing because soil, grade, rainfall, traffic, and vegetation differ. Observe the site and follow the standards required by the land manager. Add drainage opportunities before the terrain forces a large structure.
Shape Corners Around Real Entry Speed
Corner design begins before the turn. Riders need enough sight distance to understand direction and control speed. If the approach is too fast, a large berm will not fix the underlying problem.
Bench-cut turns should support the tires through the main pressure zone. The exit must release water rather than trap it at the low point. Compact the full riding surface, especially the lower portion where braking forces collect.
Test the corner at different speeds and on different bikes. A builder riding their own line already knows what is coming. Invite a rider who has not seen it and watch where they brake, hesitate, or leave the intended tread.
Build Benched Tread, Not a Loose Shelf
On a side slope, remove organic material until reaching soil that can be shaped and compacted. A full-bench trail is cut into the hillside rather than built entirely on loose fill. This creates a stable platform and reduces the chance that the outer edge slumps.
Use excavated mineral soil carefully. Keep roots, sticks, and organic duff out of structural fill because they decompose and leave voids. Compact in manageable layers instead of piling loose material and pressing only the surface.
The finished tread should feel firm beneath a boot before it sees tires. Soft construction invites deep ruts and widening as riders search for a stable line.
Use Rock and Wood with Respect
Rock can armor wet areas, support edges, and create durable technical features. Each piece needs a stable base and contact with neighboring stones. Loose decorative rock becomes a hazard after braking and freeze-thaw cycles.
Wood features require approved materials, sound construction, predictable transitions, and regular inspection. They also carry higher maintenance and liability. Build them only when the land manager allows it and the team has suitable experience.
Natural technical sections should remain readable. Challenge can come from line choice and texture without hiding sharp edges or creating wheel traps.
Design Jumps as a Complete System
A jump includes approach, takeoff, flight, landing, and runoff. All five need appropriate speed and visibility. Building only an attractive lip ignores where the rider comes from and what happens after touchdown.
Start with features that can be rolled. Progression lines allow riders to learn timing without committing to a gap. Advanced jumps need clear signage, inspection, and an alternate route.
Landing zones require more maintenance than many builders expect. Braking bumps, soft edges, and drainage problems appear quickly. A feature is not finished when it rides well once; it is finished when the team can keep it safe and consistent.
Choose Tools for the Ground
Hand tools provide control around roots, rocks, and finished features. Machines move material efficiently on approved projects but can create oversized disturbance when used without a precise plan.
Carry tools safely and keep the work zone organized. Riders should not enter active construction. Post closures at logical access points, not only beside the hole.
Fitness helps, but technique prevents injury and protects the trail. General sports resources at Lakeland FC can support conditioning, while experienced trail crews should teach safe tool use and site-specific procedures.
Compact at the Right Moisture
Bone-dry soil often refuses to bind. Saturated soil pumps and deforms. Good compaction usually happens when moisture allows particles to lock without creating mud.
Shape slightly above the final height, then compact progressively. Pay attention to edges, transitions, and the inside of berms. These areas are often left soft because the tool reaches them awkwardly.
Allow curing time when the soil needs it. Opening early may feel rewarding, but one busy weekend can undo days of shaping.
Test Before the Public Opening
Walk the entire line first. Check drainage, sight distance, protruding hazards, feature stability, and connections with existing trails. Then use controlled test riders with different skill levels.
Ask specific questions. Where did the rider brake unexpectedly? Which feature looked easier or harder than it rode? Did the trail encourage shortcuts? Was the exit speed appropriate for the next section?
Testing should lead to edits. Pride in fresh work cannot override clear rider behavior. A small alignment change before opening is cheaper than repeated repairs.
Plan Maintenance from the Beginning
Every trail changes. Tires displace soil, vegetation grows, storms move water, and freeze-thaw cycles loosen material. Set an inspection schedule tied to weather and traffic.
Clear drainage without digging deeper trenches each year. Repair small ruts before they become channels. Close the trail when riding would cause severe damage. Communicate why the closure matters.
Train more than one person to maintain each feature. A community trail should not depend on a single builder’s memory. Riders can explore more mountain biking skills and equipment guidance, but the physical trail needs a local team that understands its construction.
A Lasting Trail Follows the Land
How to build mountain bike trail is less about forcing exciting shapes into a hillside and more about finding a durable line already suggested by the terrain. Permission protects access. Drainage protects the tread. Clear difficulty protects riders. Maintenance protects the investment.
Start small and document what works. Build one section, watch it through weather and traffic, then improve the next section with that evidence. The best trail feels intentional under the tires and almost inevitable in the landscape.